My fuel level gauge isn't working
The first step to troubleshoot fuel gauge issues is verifying a good connection on signal and ground to the sender. You can either inspect the connections closely, we recommend using a multimeter to measure the ohms at the harness on the gauge side. If you have 0 ohms or open line, you don't have a good connection or the sender is bad.
Next is to ensure it is calibrated, if you have done manual calibration both empty and full conditions need to be set, or it won't read accurately. If you have done a preset calibration, ensure that it matches the ohm range of your fuel sender.
If you don't have a multimeter or don't want to measure the ohms, you can cycle through the presets to see if one works. If not, do manual calibration.
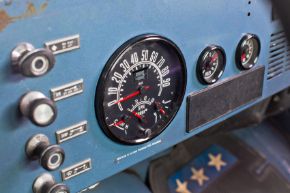
The CJ series gauges are preset to 70-10 ohms and work with stock jeep senders.
If the pointer is rapidly moving, you likely have a bad ground. It could also be electrical interference if you have the signal wire routed near high voltage components like coils, or if it is combined with a fuel pump.
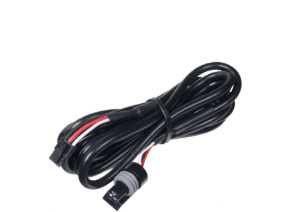
We recommend using our 2-wire fuel harness that runs a direct ground and signal to the sender.
If your gauge is staying at empty regardless of what preset you use, it likely has a bad connection and isn't getting an ohm reading. Every gauge is tested before it ships.
My temperature gauge is not working!
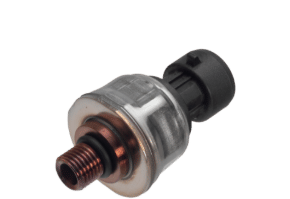
If you have just installed the gauge, ensure you are using the sensor provided as other sensors will not work.
If the gauge does not sweep on startup, it is not getting power. Verify the red, white, black power harness is connected properly.
If it sweeps but is not reading at all, ensure the signal harness is connected and pressed in firmly on both sides.
If it's still not working, test the signal harness for continuity with a multimeter. If you have both probes on the metal terminal and it reads "OL" or 0 ohms, the harness is bad. Call or email us to get a replacement harness. You can put paperclips in the harness connector if needed to get a good contact point.
If the harness is testing good, the next step is to measure ohms coming from the sensor while it is warm. Refer to the chart below, if the ohm reading is close to 0 or it's an OL, you need a new sensor. We recommend reading the ohms at the gauge side to verify it is getting to the gauge.
Temp Sensor Resistance Chart
| Temp C | Temp F | Resistance
(Ohms) |
|---|
| 60 | 140 | 238 |
| 65.55 | 150 | 199 |
| 71.11 | 160 | 168 |
| 76.66 | 170 | 144 |
| 82.22 | 180 | 125 |
| 87.77 | 190 | 108 |
| 93.33 | 200 | 94 |
| 98.88 | 210 | 82 |
| 104.44 | 220 | 71 |
| 110 | 230 | 61 |
| 115.55 | 240 | 51 |
| 121.11 | 250 | 43 |
| 126.66 | 260 | 36 |